How and When to Bleed Radiators in London: A Step-by-Step Guide
Bleeding radiators is one of the most effective and straightforward maintenance tasks a London homeowner can carry out to maintain central heating system efficiency. When air becomes trapped in a radiator, it prevents the full volume of hot water from circulating through the panel, leaving the top section cold and reducing heat output. This guide explains when bleeding is needed, how to do it correctly, and when a cold radiator indicates a more serious problem.
Why Radiators Develop Air Pockets and Need Bleeding
Air enters central heating systems through several routes. When a system is refilled after draining, as happens when a new radiator is fitted or after a leak repair, some air inevitably enters the pipework and remains trapped in the highest points of the circuit, which are typically the tops of the radiators. Hydrogen gas produced by the internal corrosion of steel radiator panels and mild steel pipework also accumulates in the system over time, particularly if the inhibitor concentration has not been maintained at the correct level. This hydrogen gas behaves identically to air in terms of its effect on radiator performance. When enough gas or air accumulates at the top of a radiator to displace a significant portion of the water, the affected area of the panel receives no heat and remains cold even when the central heating system is fully operational.
The indication that a radiator needs bleeding is straightforward: the radiator is warm or hot at the bottom and one or both sides, but cold at the top. This temperature pattern is a reliable indicator of trapped air because hot water is denser than air and falls to the bottom of the radiator while air rises to the top. A radiator that is cold throughout, by contrast, is more likely to have a circulation problem, a closed lockshield valve, or a sludge accumulation issue that bleeding alone will not resolve.
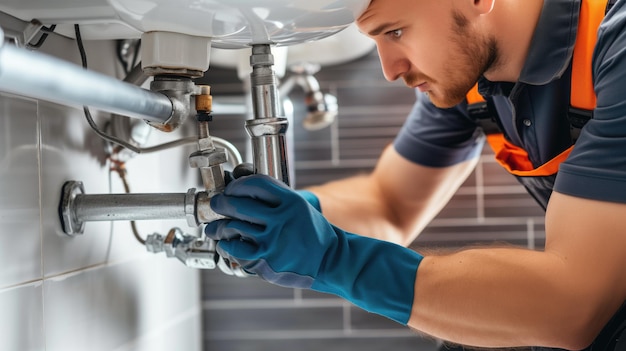
How to Bleed a Radiator Correctly
To bleed a radiator, the central heating system should be switched off and allowed to cool for at least thirty minutes before starting. Bleeding a radiator while the system is running can draw in additional air through the feed and expansion tank or the pressure relief valve, and the hot water in the system creates a risk of scalding. Once the system is cool, locate the bleed valve on the radiator, which is a small square-headed valve nipple located at one of the top corners of the radiator panel. Hold a cloth or a small container under the bleed valve to catch any water that escapes. Using a radiator bleed key, which is a small hexagonal key available from any hardware or DIY shop, turn the valve half a turn anticlockwise. A hissing sound indicates that air is escaping from the valve. Hold the cloth in position and allow the air to escape until water begins to dribble from the valve. At this point, close the valve firmly by turning the key clockwise, taking care not to overtighten.
After bleeding one or more radiators, check the system pressure gauge on the boiler. Releasing air from the system reduces the overall water volume slightly, which can cause the pressure to drop below the normal operating range of one to one point five bar. If the pressure has dropped significantly, use the filling loop beneath the boiler to top up the system pressure to approximately one point two bar. Check the pressure again after the system has reheated, as pressure rises as the water temperature increases, and the normal operating pressure when hot is around one point five to two bar. If the same radiators require bleeding repeatedly over a short period, this indicates either a persistent source of air entry, such as a micro-leak drawing in air under negative pressure conditions, or a particularly high rate of hydrogen gas generation from internal corrosion. In this case, Prestige Engineers recommend a system investigation including a check of inhibitor levels and a possible power flush if sludge accumulation is suspected.