A leaking shower tray silicone seal is one of the most common causes of hidden water damage in London bathrooms. This guide explains why the seal fails, whether it is a DIY job, and when to call a plumber.
Why Shower Tray Seals Fail
The silicone seal around a shower tray serves a critical function — it prevents water from tracking between the base of the shower tray and the adjacent tile surface or wall, and entering the floor structure below. Silicone is the correct material for this joint because it remains flexible under thermal movement — shower trays expand and contract slightly as they are heated and cooled, and a rigid grout joint would crack within months. However, silicone is susceptible to mould growth, adhesion failure, and tearing over time.
In London, mould growth in shower silicone is accelerated by hard water. When water evaporates from shower surfaces, it leaves a fine calcium carbonate deposit — the same deposit visible as white scale on shower screens and chrome fittings. This deposit provides a substrate for mould and mildew colonies to establish on the silicone surface. Once mould penetrates the outer surface of the silicone, it grows through the sealant body, weakening it from within. The silicone then loses flexibility, becomes porous, and separates from the adjacent surfaces. A shower seal that appears intact but has gone black throughout its depth is providing no waterproofing protection.
The Hidden Damage Problem
The insidious aspect of a failed shower tray seal is that the water does not immediately appear as a visible puddle. Water that tracks beneath the shower tray edge enters the floor structure below — either a timber joist floor or a concrete screed floor. In a ground floor bathroom over a basement or crawl space, the water may run down to the lower level before becoming visible, by which time weeks or months of wetting may have saturated the floor structure. In an upper floor bathroom, the water tracks through the floor and appears on the ceiling below — but by the time the ceiling staining appears, the floor structure between has been wet for long enough to begin deteriorating.
Is Shower Tray Resealing a DIY Job?
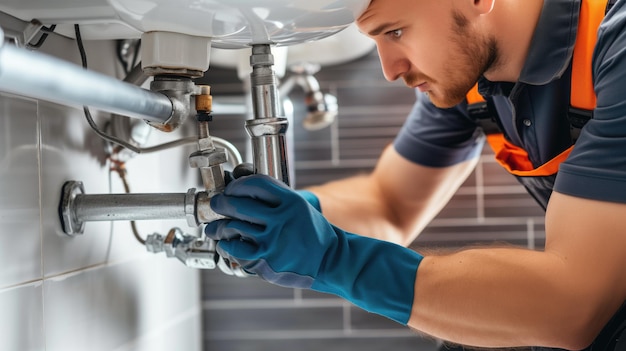
Shower tray resealing is technically accessible as a DIY project, but the preparation stage is the critical step that most DIY attempts fail to do thoroughly enough. The old silicone must be completely removed — every trace of the old sealant, including the residue on both the tile and the tray surface. A silicone remover product (available from hardware shops) softens the old sealant, and a razor blade or silicone removal tool is used to lift it from the substrate. Any residual silicone left on the surface — even a thin film — prevents the new sealant from bonding properly, and the seal fails again within weeks. Professional plumbers use a rotary oscillating tool for silicone removal on difficult joints, which removes residue that cannot be cleared with hand tools alone.
Once the surface is clean, dry, and free of residue, the joint is primed with a silicone primer (particularly important on plastic shower trays where adhesion can be poor), and a fresh bead of sanitary-grade silicone is applied in a single continuous run, tooled smooth with a wet finger or a sealant tool, and left to cure for twenty-four hours before the shower is used. A correctly executed reseal lasts three to five years under normal use. Contact Prestige Engineers for professional shower tray resealing across all London boroughs — we remove the old sealant completely, prime the substrate, and apply sanitary silicone to a professional standard.